
A lightweight access point or AP discovers a Wireless LAN Controller or a WLC at Layer 2 by using the LWAPP discovery protocol. The controller or WLC sends the access point an LWAPP join response after the LWAP AP has issued a join request. When the AP has joined to the WLC, it begins the processes of downloading its software if the version on the AP and the WLC do not match. The AP using LWAPP secures the control communication between the itself and WLC by means of a secure key distribution using an X.509 certificate.
The first thing to consider before upgrading your AP or AP’s from LWAP mode to Autonomous mode is the IOS version and platform requirements. For this example I downloaded the Autonomous IOS version c1140-k9w7-tar.152-4.JB5.tar file which contains the the entire image which will allow you to convert from LWAP to Autonomous. This file is going to have to be renamed to a default name that the boot process requires in order to perform the conversion, but I’ll get to that later.
Files
- c1140-k9w7-tar.152-4.JB5.tar
- c1140-k9w7-tar.default
Tools
- Laptop
- Cisco Console Cable
- SecureCRT or Putty
- CAT5 patch cable
- TFTP Server
The Boot Mode Conversion
After you have downloaded the correct autonomous IOS version your going to want to rename it c1140-k9w7-tar.default. The reason for this is when we boot the 1142 it’s going be looking for that file name via Layer 2 broadcast. The next thing you need to do is place the file at the root of your TFTP directory.
Conversion Steps
- Configure Laptop with a static ip address such as 10.0.0.20 255.255.255.0
- Install a TFTP Server on your Laptop or PC. I prefer TFTPD32 by Ph Jounin
- Rename the c1140-k9w7-tar.152-4.JB5.tar to c1140-k9w7-tar.default
- Now place the c1140-k9w7-tar.default at the root of the TFTP directory
- Hook up the Cisco Console cable between the 1142 and the Laptop or PC
- Use a CAT5 cable directly between the 1142 and your Laptop or PC
- Using option 6 will isolated the 1142 from the WLC and the DHCP Server
- While holding the mode button power on the 1142 until you see the following
Console Message
button pressed for 5 seconds
process_config_recovery: set IP address and config to default 10.0.0.1
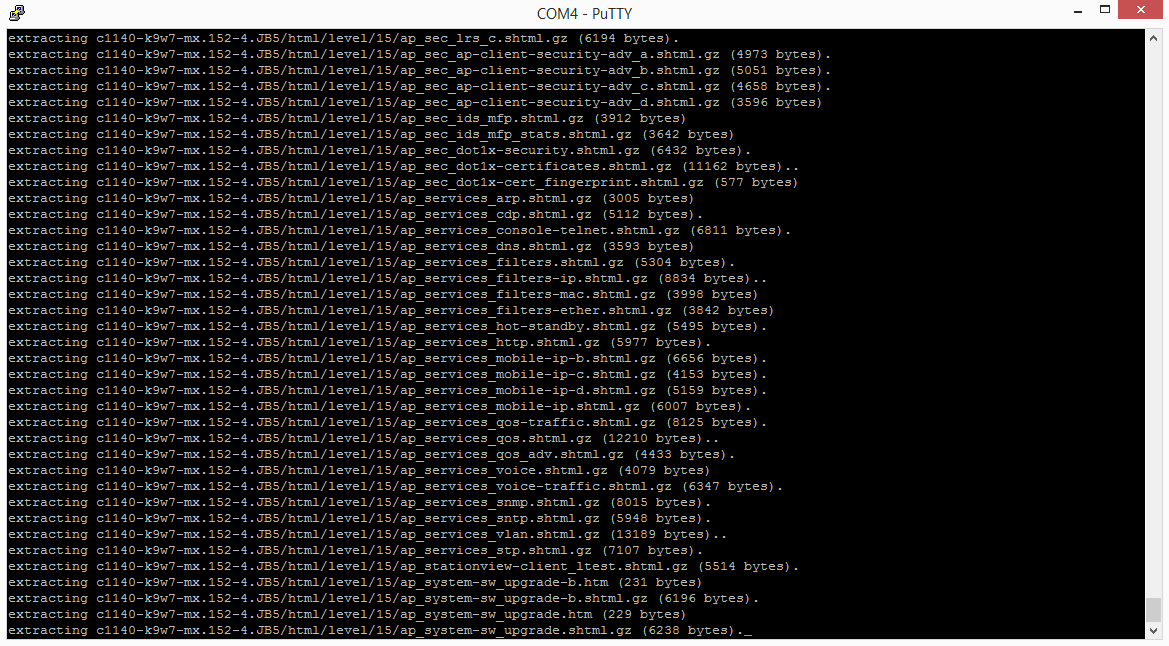
At this point you can release the mode button on the back of the 1142 and it should begin broadcasting at Layer 2 for the TFTP Server. You should begin to see the following message from the Console of the 1142 as it begins to download the c1140-k9w7-tar.default from the Laptops TFTP Server. The overall process takes just a few minutes. It’s actually going to perform the archive / extract automatically via TFTP. After the process completes you can simply reload the 1142 and it will come up on the Autonomous IOS image and you are ready to go.
 The Manual Conversion
- Configure you Laptop or PC with a static ip address. I used 10.0.0.20 255.255.255.0
- Install and run a TFTP Server on your Laptop or PC. I prefer TFTPD32 by Ph Jounin
- Hook up the Cisco console cable to the console port of the 114
- Power on the 1142 and login via the console at the prompt
- Now place the c1140-k9w7-tar.152-4.JB5.tar at the root of the TFTP directory
- Perform the following steps on the 1142
AP#debug capwap console cli
AP#debug capwap client no-reload
AP#archive tar /xtract tftp://10.0.0.50/c1140-k9w7-tar.152-4.JB5.tar flash:
AP#delete /force /recursive flash:c1140-rcvk9w8-mx
AP#reload
I hope you found this post on LWAP to Autonomous helpful and informative. Be sure to let me know what you think by leaving suggestions, and feedback in the comments section below. You can find out more about these and other articles be checking out recent posts and archives. To learn more about me be sure to check out the About page. And as always thanks again for visiting The Packet.